Facia Rework
|
 |
|
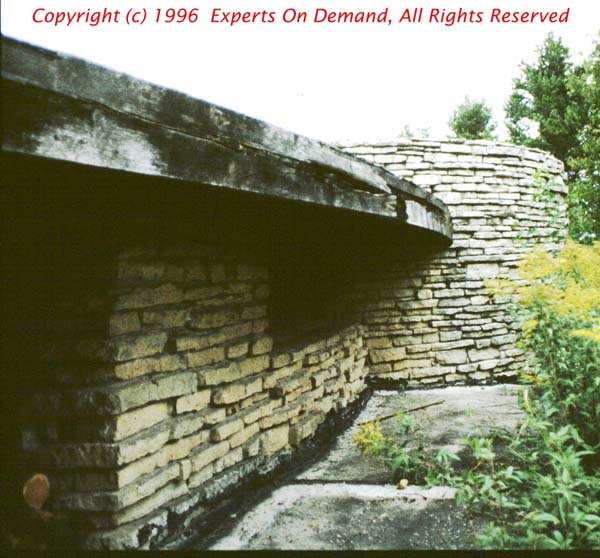
This is the east end of the bermed back
of the house. The concrete is the roof over the workshop behind the kitchen in
the berm. The windows from the house come out of the master bedroom. As you can
see the roof facia has had it. Though the house roof has about 6 degrees of
tilt to the roof, this did not help the facia. Nothing was there to keep the
water from coming off the roof and going between the layers of the facia. There
was no trim to run the water past the facia and then off.
|
|
 |
|
According to energy audits done in 1980,
about 20% of the energy waste was due to no real insulation in the roof. At
most 2" of wood was in the roof. The house at this point was using in excess of
3500 gallons of fuel oil. This was at 1$+/gallon at that point. This , in the
house where daytime solar was so good.
|
|
 |
|
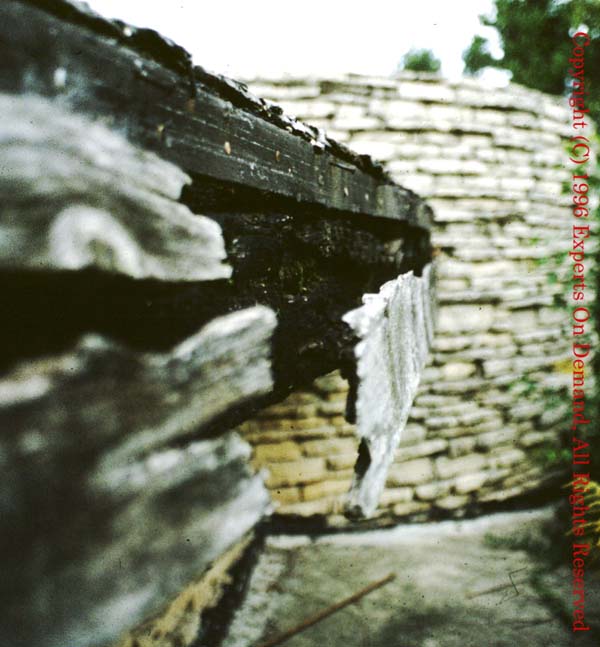
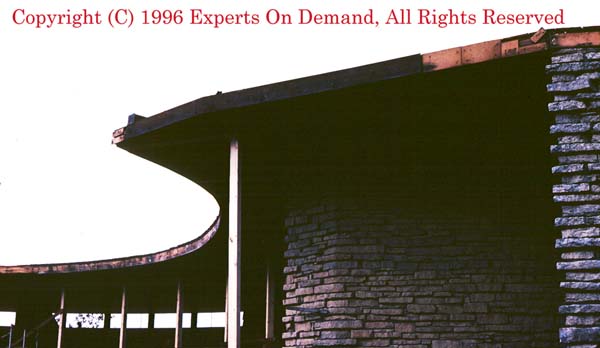
This picture clearly shows several
things. The long metal strip within the facia to which we welded the roof
strengthening beam is clearly visible on the front side of the close wing tip.
Also note that in the front of the house, the main underlaying of the facia
were a little stained with time but intact. This was due to the slight tilt to
the roof.
|
|
 |
|
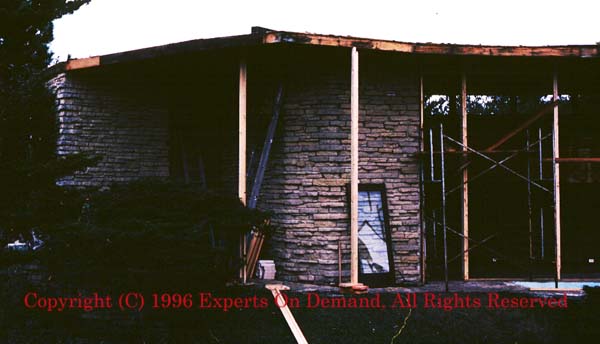
We jacked these 2x6s into place to
reposition the roof for both the roof beam work, and the front wall restructure
work.
|
|
 |
|
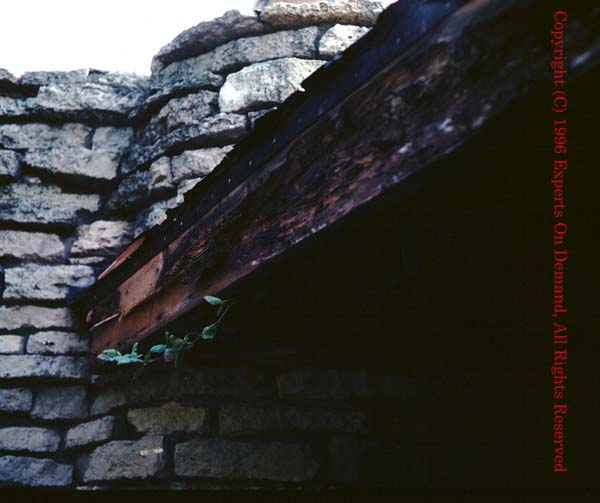
In the back of the house we had to peal
off more of the old facia to get to good wood. You can see the tar paper tucked
around this board to run channel the water into here.
|
|
 |
|
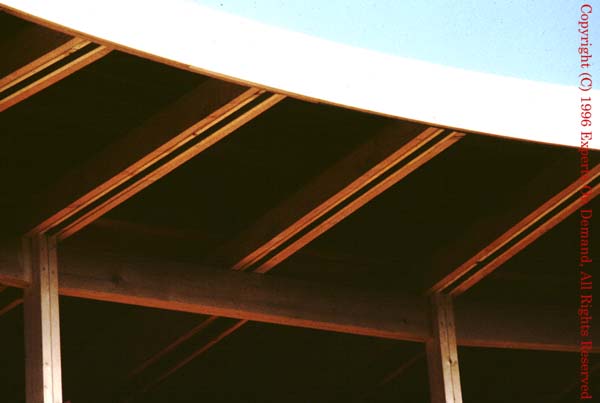
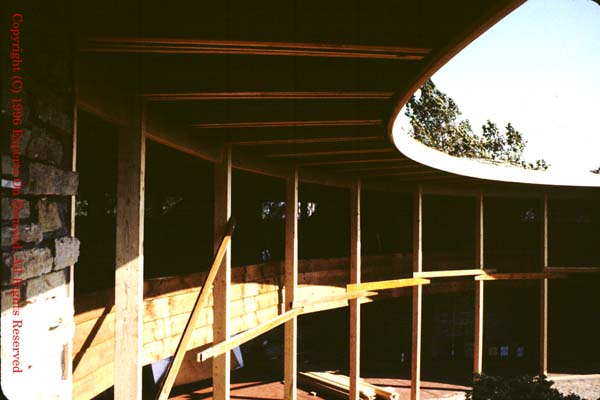
This is a wonderful shot of the freshness
of the new cedar facia prior to the new roof going on. Also you can clearly see
the composite nature of the beefed up roof beams. 8" of composite beam. The
double 2x6s in the front wall/ roof supports also clearly show. The old
structure had 4" composite beams internally and a single 2x6 going roof edge to
roof edge. The front wall and roof supports were single 2x6s.
|
|
 |
|
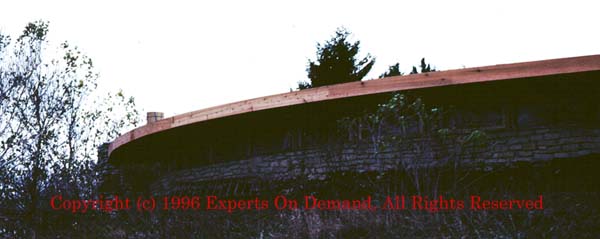
Well, we now have replaced the floor,
added structural strength to the roof via the steel beam and enhanced roof
beam, and replaced the structure inside front and back window walls. The facia
has been redone and in general the rest of the house has been trashed by
construction strain. You would not believe how many times I had to move the
internal cedar walls from the upstairs rooms to allow this other set of jobs to
happen.
|
|
 |
|
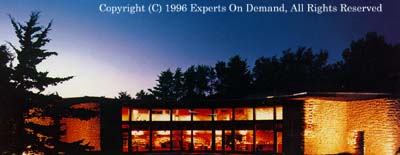
Not much shows above the berm. Ironically
the berm was determined to be a 20% cost loss for heat. There was no insulation
placed below grade. That meant that the 4' of frost depth generated a good heat
drain from the house in winter.
|
|
Roof and Skylight Rework
|
 |
|
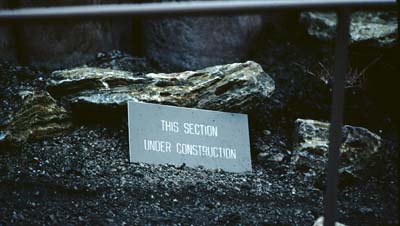
It always takes longer than expected. I was visiting the Milwaukee
domes and say this sign. Very similar to hints at web sites....... My back got
tired of the beds in the trailer and I had moved into the house in spite of
construction after a few weeks.
|
|
 |
|
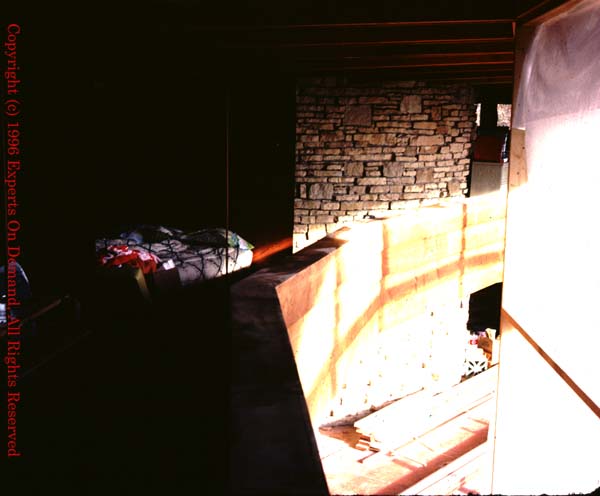
This is it! The only spot in the entire
house large enough for a double bed in the rain....... Ironically, it is in the
room that I grew up in. It is also by the only wall section I could leave to
let the rest of the structuring progress.
|
|
 |
|
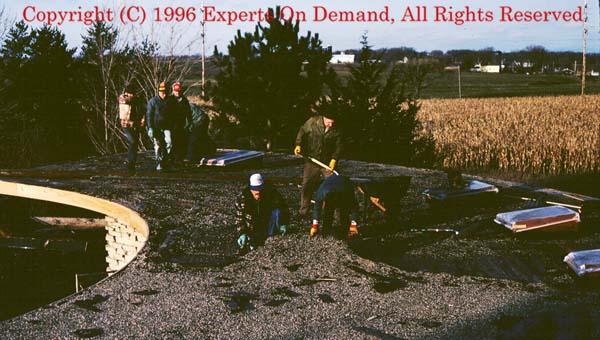
At last in December, we started the new
roof itself. This was a key step in the restoration. In this shot you see
exactly what we have for a roof, Tar and Gravel and Wood. The roof was
basically 2" of wood with some waterproofing . Remember that the heating costs
for this house was around $3,000/season, and that for a solar house. Much of
the heat was going out through the roof.
|
|
 |
|
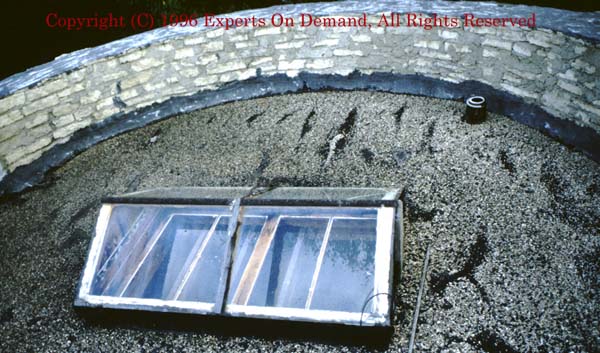
This skylight was always a wonderful
factor in the tower bathroom. It made such a wonderful neutralizing factor for
the darkness generated by the large roof overhang. I decided to go ahead and
add skylights in key sections of the upstairs. Each end bedroom got a large
skylight to offset the stone wall keeping light out from the south. One smaller
skylight went into the third upstairs bedroom ( my old room ). The sitting
area, open to the south and north got two, to make it extra nice.
|
|
 |
|
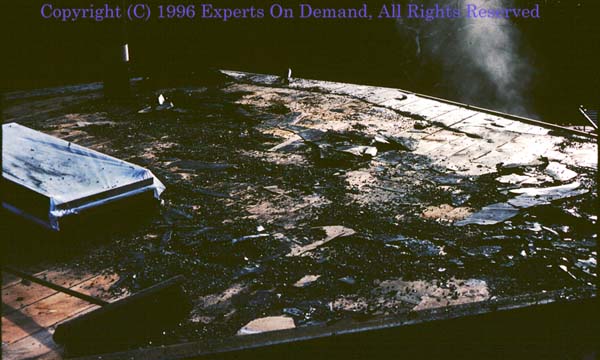
Look at this wood! Boy was it nice to
find clear, fresh wood under that old tar...... Only in the tower did we have
to rip out and replace wood before re-roofing
|
|
 |
|
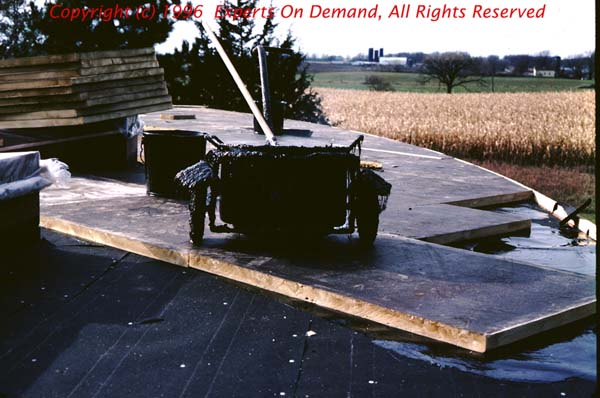
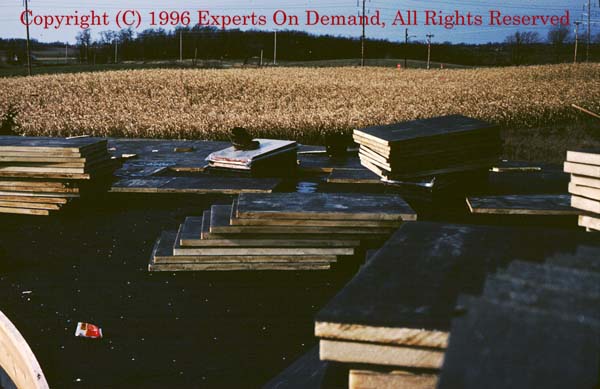
This roofing insulation generates
something like 8 / inch. At 1.8" per sheet, with two layers over the heated
section, we got to an insulation rating of about 28.
|
|
 |
|
Can you say "bid this job carefully".
Six skylights to roof around, curves everywhere, one round tower, and then a
second layer of equally horrid shape constraints. I will never forget the
roofer doing a 360" spin with his 4x4 in the front yard when he found out how
slow things were going.
|
|
 |
|
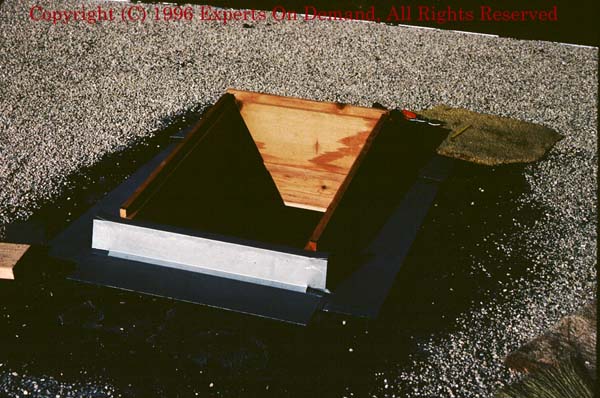
DON'T DO IT. There I have said it. I was
convinced that I did not have to buy the more expensive commercially designed
skylights and flashings. We had continuing problems with glass cracking,
flashings leaking, and other assorted goodies which more than made up for the
small initial savings. If you do skylights, buy a complete commercial
solution...................... |
|
 |
|
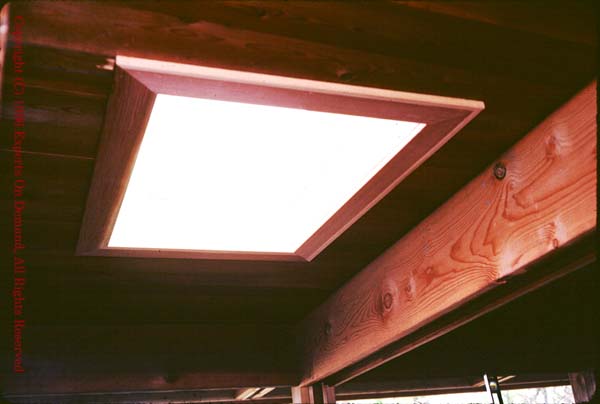
Boy skylights sure brightened up the
house! Even on a grey day, the rooms were bright and alive. And something can
be said about being in bed at night and seeing the stars.
|
|
|
|
|
|
